Your Quickstart Guide to Product Photo Editing
If you're taking product photos yourself, don't stop at snapping your pictures. Editing your images afterwards can bring them from "good" to "great"
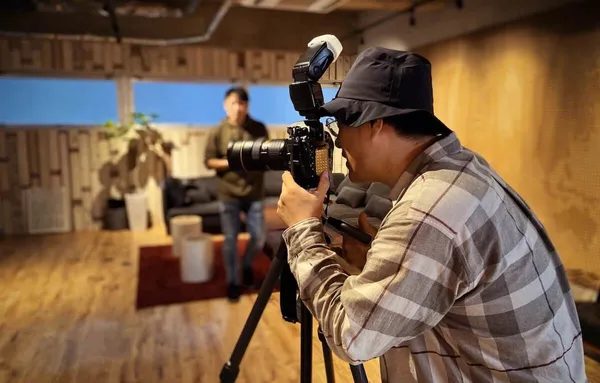
Whether you are trying to save money or just embracing a DIY approach, taking product photos yourself can work just as well as hiring a photographer. And once you have set the stage and taken your shots, you may be tempted to call it a day and consider your work done. However, while your physical setup and camera settings might make for good photos, editing your photos post-shoot can catapult them from “good” to “great.” Here’s how to edit your product photos once you’re done with your photography session.
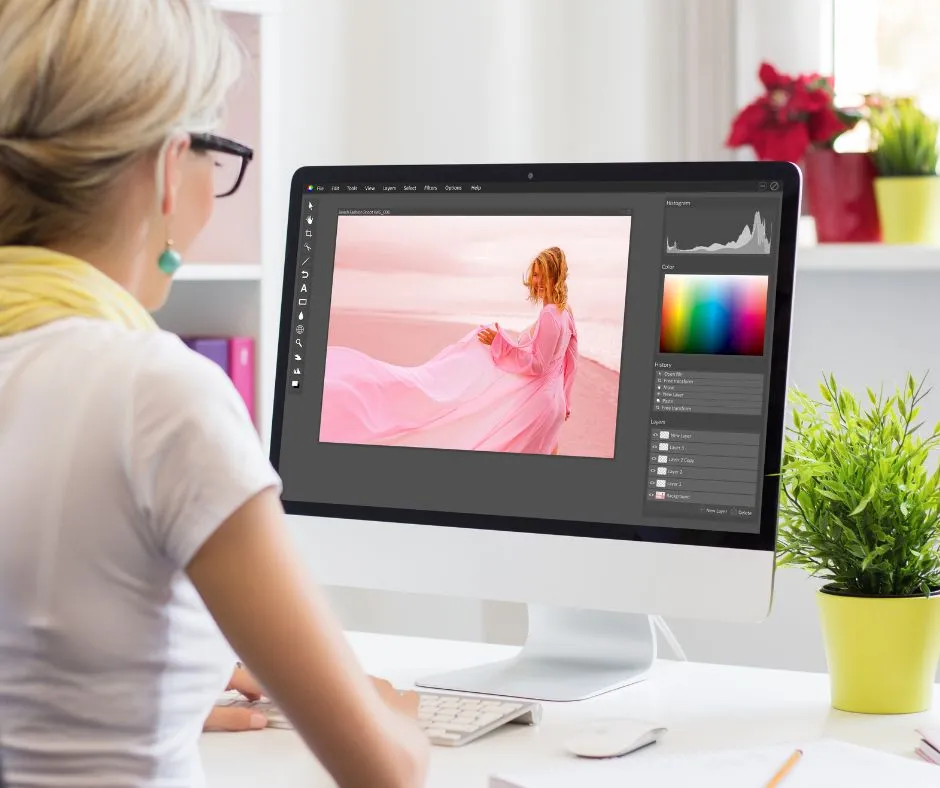
Find a photo editing software
Before you can start editing your photos, you need to find a platform on which to work. In general, computer-based editing programs tend to provide the most capabilities. Below are a few of the best desktop photo editing programs:
- Adobe Photoshop: Photoshop has (and probably always will be) the gold standard of photo manipulation apps—with the price tag to prove it. It’s capable of basic editing tasks such as color adjustment and exposure enhancement, and it can also do major tweaks like background removal, graphic design, and a whole lot more.
- Gimp: This open-source image editor is compatible with various platforms, including Windows, Mac, and Linux. Like Photoshop, it features layers, filters, and masks, and it has useful tools like saturation slider, auto white balance, and healing tool. Its interface may feel clunkier than standard photo editing apps, but it gets the job done.
- PhotoScape X: This tool is perfect for beginners who don’t want to deal with an app that has a steep learning curve since the interface is easy to use and understand. It has all the features one would expect in a powerful platform, including an intuitive editor, batch editing, collage maker, background remover, brushes, filters, and special effects.
- Canva: Canva has become a popular online software for business owners and creators. It has a variety of tools, content templates, and photo editing features. It's a great photo editing tool for beginners or store owners who are using it to create compelling graphics and ads. Some of our favorite editing tools are the Background Remover, Vibrance, and the ability to add a drop shadow element below your product.
While photo editing on a desktop or laptop is ideal, smartphone editing has come a long way and can be a viable alternative. Here are a few great smartphone photo editing apps:
- VSCO: Though it was recently part of an Instagram aesthetic craze, this app is still the go-to for a lot of photographers. Besides the filters it has become known for, VSCO has additional image editing tools that allow for a lot of precision while still being intuitive and easy to use. (Available on Apple and Android phones.)
- Adobe Lightroom: This is a slightly scaled-down version of the desktop app. It isn’t quite as intuitive to use as VSCO and doesn’t have as many filters available, but the precision is fantastic, which is perfect for detail-oriented photographers. (Available on Apple, Android, and Windows phones.)
- Snapseed: Similar to Lightroom, Snapseed allows for a few more specialized tweaks. One great feature is the “healing” tool, where you can easily remove scratches. However, if you don’t want to fiddle with all those details, you may want to stick with something easier. (Available on Apple, Android, and Windows phones.)
Play around with your settings
Once you’re in your photo editing program and have uploaded your images, there are a few basic settings you should be aware of. Adjusting these settings on your photos is what will really make your product photos look professional and compelling. The most important things to pay attention to include:
- Background removal: If there is a lot going on in the background of your image that takes away from the product, consider removing the background completely. Product images tend to look best against white background, but that may not always be possible during your shoot—editing this afterward will give you a similar effect.
- Brightness: This refers to how much light is present in your photographs. Increasing the brightness will make both light and dark areas lighter, and decreasing it will make both the light and dark areas darker. Increasing the brightness of your image will hide any imperfections and give it an attractive glow.
- Contrast: This refers to the difference between lighter colors and darker colors in a photo. Higher contrast makes images appear more dramatic, while lower contrast makes them look softer. Increasing the contrast in your product photos will help your product pop against the background.
- Cropping: Make sure your product is in the absolute center of any product photos you plan on using on your site. If the top of the image has more empty space than the bottom does, cut the image so that an equal amount of empty space appears both above and below the image.
- Exposure: Similar to brightness, exposure refers to how much light is in an image; however, it does not affect the darker areas of an image in the same way. Increasing the exposure will make your lighter areas lighter, but leave the darker areas the same as they were before making adjustments.
- Saturation: This refers to the intensity of the color visible in the image. We don’t suggest playing around with this too much unless you experienced lighting issues during your shoot—changing the appearance of the color too much might give customers a different expectation of what the product looks like.
- Sharpness: This refers to how clear your image looks. Sharp images have extremely detailed contrast and texture, giving the subject a more lifelike quality overall. Increasing the sharpness of your image will help highlight the intricate aspects of your product and improve image quality.
- White Balance: White balance adjusts the colors of your image so that they appear the most natural. The vast majority of cameras will automatically adjust the white balance as you are taking photos, but sometimes your camera doesn’t get it right. Playing with this scale to get the most natural colors in your image is a quick and easy fix.
Note: For product photos specifically, we do not suggest using a filter of any kind. Product photos are meant to show the product as it is, and filters can skew the appearance too much to provide an accurate representation.
Don't overdo it
The most important thing to remember when editing your product photos is not to over edit—remember that less is more. The point of editing is to make a photograph look its best, but not to change it completely or make the product look better than it does in real life. The worst thing you can do to a product photo is edit it to the point that it looks like a Snapchat filter was used. And the more you stare at and make adjustments to your image, the farther from the actual product it will look. Begin by opening an image and playing around with many of the settings to see how they will change your image, and then revert back to the original image before you begin your actual photo editing.
Final Thoughts
By making adjustments to your product photos after you have taken them, you can improve both the overall appearance of your product through the camera lens and make your business appear more professional. As long as your product photos look great and are an accurate portrayal of your products, your sales and return rates are sure to improve.