Quick Start
If you have built a block before, you can skip down to Make the Block Fetch Data from an API after running this command from the directory where you keep your blocks:
element new Bloglist && cd Bloglist && npm install && npm start
cd BlogList
git init
git commit -am "Initial commit"
Prerequisites
Before you get started, you need to ensure that your development environment is ready for you to explore Site Designer and create your own blocks.
An Account with Approval to Create Blocks
The first thing you need is for your Volusion account to be part of an approved organization that can create blocks in the Element ecosystem. To do this, see "How to Get Approved to Develop Blocks."
Set up Your Development Environment
You also need to set up your environment with Node.js, Git, and Element CLI. For specific step-by-step instructions, see "Environment Setup."
Create the Blog List Block
If your development environment is set up, you're ready to begin the tutorial. Start by creating a blog list block using your terminal and your favorite text editor or IDE.
1. Log in to Element CLI
Open up your terminal and navigate to a good working directory where you'd like to keep your block code. For this tutorial, we will assume you are in a directory called "blocks."
First, log in to Element CLI to ensure that your identity is associated with the block you're about to create. Enter this command into your terminal:
element login
Element CLI will first prompt you for your username, followed by your password. Use your Volusion credentials for this.
If you're successful, you should see output like this:
blocks $ element login
? Enter your username [email protected]
? Enter your password [hidden]
Logged in as [email protected].
2. Make a New Block with Element CLI
After your login is successful, enter this command into your terminal to create the new block:el
element new Bloglist
You should see output that looks like this:
blocks $ element new Bloglist --git
Cloning boilerplate for Bloglist...
Saved boilerplate to ./Bloglist; now updating...
Updated files Bloglist/local/index.js!
A new directory was created called Bloglist. Enter this command in your terminal to navigate into the Bloglist directory:
cd Bloglist
git init
git commit -am "Initial commit"
Type this command into your terminal to install the npm packages that your block needs:
npm install
3. Start up the Blog List Block for Local Development
Type this command into your terminal to run the block locally:
npm start
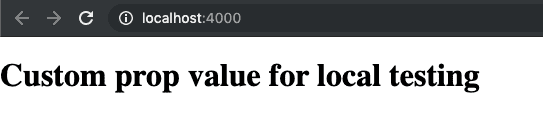
You should notice a browser tab open up with the url set to http://localhost:4000/. The browser contents should look something like this:

Congratulations! Your block is running locally and is ready for some changes. If this process did not start up a browser tab for you automatically, open a browser tab to http://localhost:4000/.
4. Open the Files of the Bloglist Directory in Your Text Editor
Use your favorite text editor or IDE to open the files of the Bloglist directory and take a look around. Notice the /src directory: this is where the code for your block lives. Open /src/Block.js and look at the source code. So far it's pretty simplistic:
'/src/Block.js' (initial)
import React from 'react'
import { defaultConfig } from './configs'

function StarterBlock(props) {
 return <h1>{props.text}</h1>
}
StarterBlock.defaultProps = defaultConfig
export default StarterBlock
You're going to modify this block so that it does some new things:
- Fetch data from an API to get a list of blog posts
- Use the fetched data to display a list of blog post links
- Add some basic styling
5. Make the Block Fetch Data from an API
Data fetching for your block should happen in your getDataProps function so that the block can get the data as a prop. Open /src/getDataProps.js in your text editor and take a look at the source:
'/src/getDataProps.js' (initial)
export const getDataProps = (utils, props) => Promise.resolve()
As you can see initially, this function resolves without a value. Modify the source code so that it fetches from a sample API:
'/src/getDataProps.js'
export const getDataProps = (utils, props) => {

return utils.client
  .request('https://jsonplaceholder.typicode.com/posts')
  .then(res => res.json())
  .catch(e => [])
}
Now that getDataProps is requesting the blog posts, you need to set up the block to receive and display them. Switch over to /src/Block.js and modify the code as follows:
'/src/Block.js'
import React from 'react'
import { defaultConfig } from './configs'
function StarterBlock(props) {
 // the blog posts are now available as props.data
 const { data = [] } = props
 return (
    <React.Fragment>
      <h1>{props.text}</h1>
      <ul>
        {data.map(blog => {
 return (
            <li key={blog.id}>
              <a href={`/blog/${blog.id}`}>{blog.title}</a>
            </li>
          )
        })}
      </ul>
    </React.Fragment>
  )
}

StarterBlock.defaultProps = defaultConfig
export default StarterBlock
In your browser, your block should now be showing the titles of blog posts from the sample API:

6. Make the Blog Titles into Links and Add Some Basic Styling
The block functions alright, but you should enhance its styling. Open /src/getStyles.js in your text editor and take a look at it:
'/src/getStyles.js' (initial)
export const getStyles = blockProps => ({})
So far, the styles object it returns is empty. To change that, replace the source code with this:
'/src/getStyles.js'
export const getStyles = blockProps => ({
  blogLink: {
    color: 'rgba(50, 168, 82, 0.9)',
    backgroundColor: 'transparent',
    transition: 'all 0.2s ease',
 ':hover': {
      color: 'rgba(20, 100, 90, 1)',
      backgroundColor: '#ffdbf3',
 },
  },
})
Blocks use Aphrodite for CSS-in-JS. Aphrodite is already included in the Starter Block. Import it, and add the new style to your block:
'src/Block.js'
import React from 'react'
import { StyleSheet, css } from 'aphrodite'

import { defaultConfig } from './configs'
import { getStyles } from './getStyles'

function StarterBlock(props) {
 // the blog posts are now available as props.data
 const { data = [] } = props

 // Pass the style object returned by `getStyles()` to aphrodite's `StyleSheet.create()`.
 const styles = StyleSheet.create(getStyles(props))

 return (
    <React.Fragment>
      <h1>{props.text}</h1>
      <ul>
        {data.map(blog => {
 return (
            <li key={blog.id}>
              {/* add the aphrodite class to your rendered HTML. */}
              <a href={`/blog/${blog.id}`} className={css(styles.blogLink)}>
                {blog.title}
              </a>
            </li>
          )
        })}
      </ul>
    </React.Fragment>
  )
}

StarterBlock.defaultProps = defaultConfig

export default StarterBlock
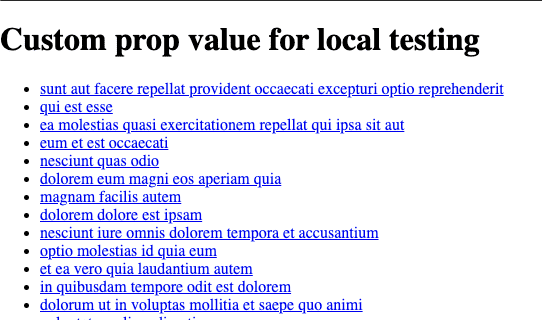
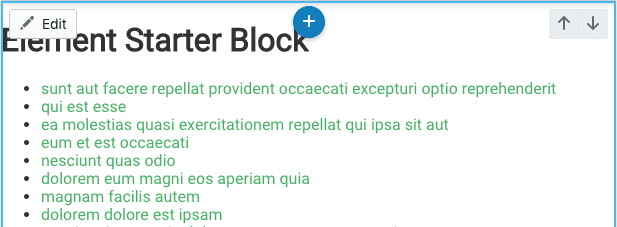
Your block should now look something like this and have a hover effect for the blog links:
Don't worry about the fonts—those will be applied by the theme later.
7. Publish the Blog List Block
Now that your blog list block is looking good, it's time to publish it so that it will be available to add to your theme. Go to your terminal window and terminate the local server by pressing the q key, or by pressing ctrl+c.
Run this command in your terminal to build the block:
npm run build
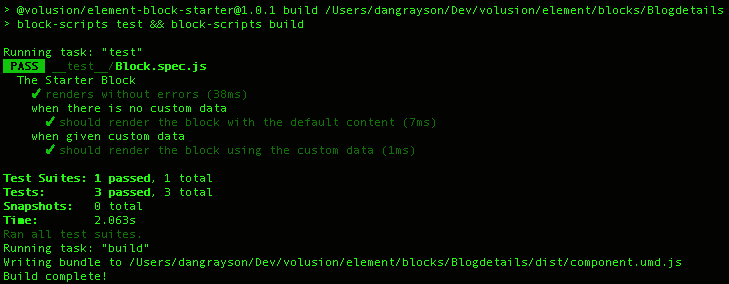
You should see output that looks like this:

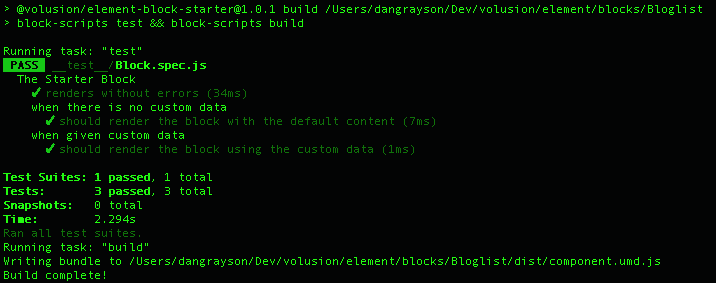
Next, you need to publish the block to the Block Theme Registry. Run this command in your terminal to do so:
element publish -n "Blog List Tutorial Block"
git commit -am "First release"
git tag 1.0
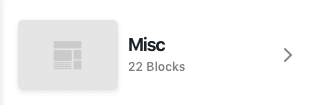
This will present you with a category selection menu that looks like this:

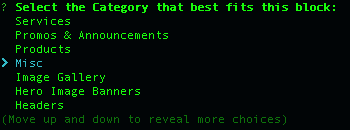
Select the Misc option and press enter. You will see output that looks like this:


Create the Blog
Detail Block
You have created the blog list block. That's great for showing a list of blog posts, but now you need a block that displays the detailed content of an individual blog entry. This is the blog detail block.
1. Make a New Block with Element CLI
Your terminal should still be in the /blocks/Bloglist directory. Type this command into your terminal to navigate back to /blocks:
cd ..
Type this command into your terminal to make the new BlogDetails block:
element new Blogdetails
Like the blog list block before, you should see output that tells you the operation was successful.
At this point, a new directory was created called Blogdetails. Enter this command in your terminal to navigate into the Blogdetails directory:
cd Blogdetails
git init
git commit -am "Initial commit"
Type this command into your terminal to install the npm packages that your block needs:
npm install
2. Start up the Blog Details Block for Local Development
Type this command into your terminal to run the block locally:
npm start
Just like with the blog list block, you should notice a browser tab open up with the url set to http://localhost:4000/. The browser contents should look something like t
If this process did not start up a browser tab for you automatically, open a browser tab to http://localhost:4000/.
3. Open the Files of the Blogdetails Directory in Your Text Editor
Use your favorite text editor or IDE to open the files of the Blogdetails directory. It will have the same initial source code that the blog list block had when we first created it.
You're going to modify this block so that it does some new things:
- Get a blog ID from an ID parameter in the page's URL
- Fetch data from an API for the matching blog post
- Display the matching blog post in the block
4. Get a Blog Based on the Id in the Page Path
You're going to use a pageVar to get the blog ID from the page's URL. The first step for doing this is registering the pageVar in your block's config.
Open /src/configs.js in your text editor and replace the entire code with this:
'/src/configs.js'
export const getConfigSchema = ElementPropTypes => {
 return {
    text: {
      label: 'Text content',
      type: ElementPropTypes.string,
    },
  }
}

export const defaultConfig = {
  text: 'Element Starter Block',
  blogId: 'pageVar:blogId',
}
'/local/index.js'
Using pageVar:blogId in your defaultConfig will allow you to grab the blog ID from your URL (seen later in this tutorial), but your local environment URL shouldn't change. This means we'll want to set a local env prop. You can do this through the props object in local/index.js — just add the key as seen below, and your local environment will load the blog with ID 1.
const props = {
  blogId: '1',
}
'/src/getDataProps.js'
Your getDataProps function needs to fetch the matching blog.
Open /src/getDataProps.js and replace the entire source code with this:
export const getDataProps = (utils, props) => {
 return utils.client
    .request(`https://jsonplaceholder.typicode.com/posts/${props.blogId}`)
    .then(res => res.json())
    .catch(e => [])
}
Your block's code needs to show the content of the blog that it received from its data.
Open /src/Block.js and replace the entire source code with this:
'/src/Block.js'
import React from 'react'
import { defaultConfig } from './configs'

function StarterBlock(props) {
 const { data: blog = {} } = props
 return (
    <React.Fragment>
      <h1>{props.text}</h1>
      <h2>{blog.title}</h2>
      <p>{blog.body}</p>
    </React.Fragment>
  )
}

StarterBlock.defaultProps = defaultConfig

export default StarterBlock
6. Publish the Blog Details Block
The blog details block is done, so it's time to publish it. Go to your terminal window and terminate the local server by pressing the q key, or by pressing CTRL + C.
Run this command in your terminal to build the block:
npm run build
You should see output that looks like this:

Next, you need to publish the block to the Block Theme Registry. Run this command in your terminal to do so:
element publish -n "Blog Details Tutorial Block"
git commit -am "First release"
git tag 1.0
This will present you with a category selection menu that looks like this:
Select the Misc option and press enter. You will see output that looks like this:

Create a New Theme to Work with
Now that you've published your blocks, the next thing you'll want to do is create a new theme to work with. You will make two pages inside this theme and put your blocks into those pages, but first you need a theme as an isolated workspace. Themes are the parent construct to pages.
1. Open Site Designer
In the web browser of your choice, sign in to Volusion.com with your approved developer account, and click the Site Designer link in the sidebar navigation:


2. Create a New Theme
Click the Create new theme link in Site Designer.
Note: if Site Designer directed you straight to your active theme, first click the Change Theme link near the top of the screen (next to your theme name).

This will launch a dialog for you to enter your theme name:

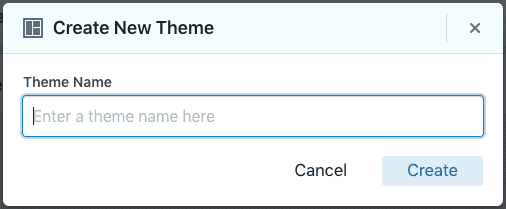
Enter "Blog Test Theme" as the name for your theme, then click the Create button.
Add a New Page for Your Blog List Block
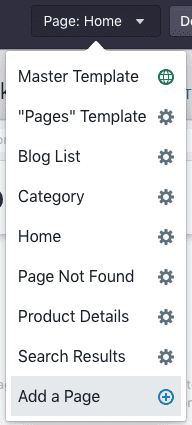
After creating your new theme, Site Designer will navigate you to the home page for your theme. Next, you'll need to add a page where your blog list block will live. To do this, open the page selection drop-down that says Page: Home, revealing the "Add a Page" menu option:

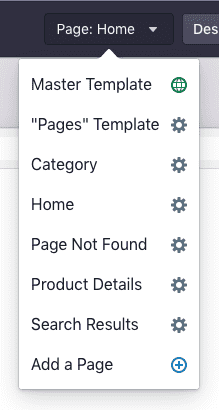
Click the Add a Page link, which will open a panel in the sidebar:

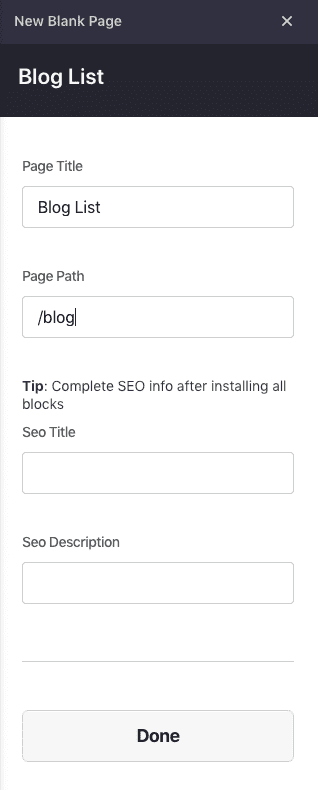
Fill out the first two fields:
- Page Title: Blog List
- Page Path: /blog
Note: make sure you have a / character at the start of /blog.
Leave the rest of the fields blank, then click the Done button at the bottom of the panel.
Site Designer will redirect you to your new Blog List page.
Add the Blog List Block to Its Page
Click the Add Block link:

This will open the "Add a Block" panel, where you can select from block categories. Click on the Misc category—you'll recall this was the category you published your blocks into earlier.

Locate the "Blog List Tutorial Block" you published, and click the Add Block button:

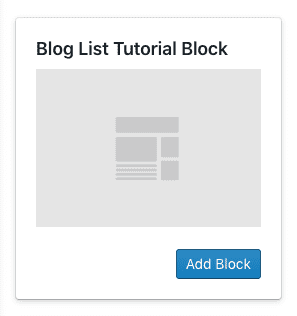
You should see your blog list block appear in the main panel of Site Designer. It should look something like this:

Add a New Page for Your Blog Detail Block
Now that you've created the blog list page and added the block to it, you need to do the same for the blog detail.

Click the Add a Page link, which will open a panel in the sidebar:

Fill out the first two fields:
- Page Title: Blog Detail
- Page Path: /blog/:blogId
Note: make sure you have a / character at the start of /blog/:blogId. Notice also that the :blogId matches the variable name you used earlier in the blog detail block.
Leave the rest of the fields blank, then click the Done button at the bottom of the panel.
Site Designer will redirect you to your new Blog Detail page.
Add the Blog Detail Block to Its Page
Click the Add Block link:
This will open the "Add a Block" panel, where you can select from block categories. Click on the Misc category—you'll recall this was the category you published your blocks into earlier.
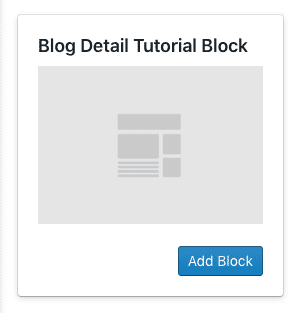
Locate the "Blog Detail Tutorial Block" that you published, and click the Add Block button:

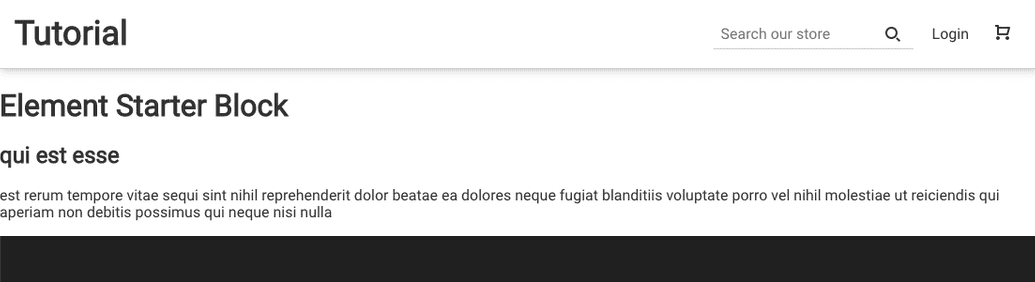
You should see your blog detail block appear in the main panel of Site Designer. It should look something like this:


See the Blocks in Your Theme Preview
You're done setting up the blocks, and it's finally time to see how everything works together. First, click the Block List page in Site Designer using the page selection menu:

Next, click the Preview button near the top of the Site Designer window:

This will launch a new browser tab with your blog list page. The page URL will be something like:
https://6860d41f-7f19-4aff-b528-a17da7b6ca55.myvolusion.com/blog
And the contents will look like this:

Click one of the blog links, and you will go to the detail page for that blog post:

Notice that the page URL now has a blog ID in the path:
https://6860d41f-7f19-4aff-b528-a17da7b6ca55.myvolusion.com/blog/2
Click your browser's back button to get back to the blog list page and explore more blog details.